Chapter 9
In the models below we can see the rhombicube left. Note that
we have eliminated the pins in favor of a tab and a hole connection
in which each square panel has two tabs and two holes. In the
last large cardboard structure of the last letter, the inside
frame extended to the centers of the triangular open spaces in
line with the three surfaces it was attached to. If you look
at the center model, see that we have now extended the panel
itself into this area. In the center model we also are extending
the panels upwardly into what would have been tho top square
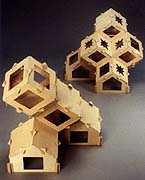
open space. Now look at the lower right model. The panel has
become a diamond, or rhombus, and we are on the way to forming
a rhombic dodecahedron if we were to use 12 of them. This model
has its base modified to form a mini sort of house.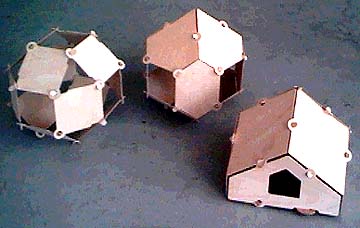
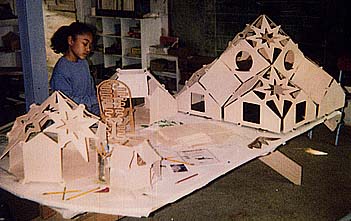
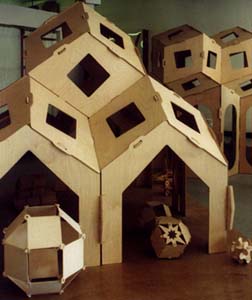
I was working with a group of 10 year old girls to design doll houses at the time, and brought these models into the classroom. Almost in no time, we found that the connections were reversible, and the modules would interconnect. This is Justine in the picture with a variety of our first assemblies.